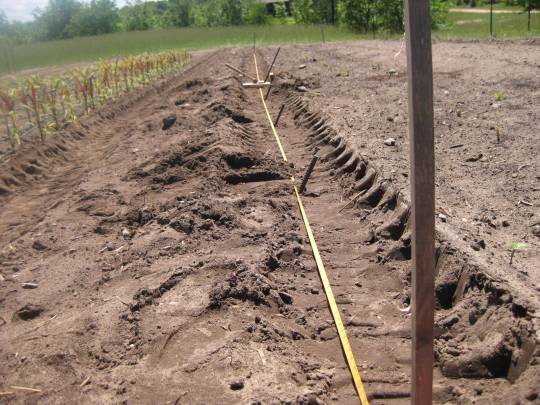
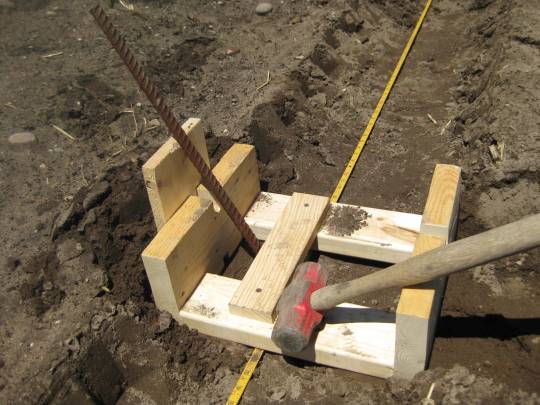
Start with 2 foot lengths of 5/8 rebar driven 18 inches into the ground.
For my house dimensions, it turned out that an angle of 60 degrees to the horizontal was appropriate. I figured this out by pulling a 20 ft. length of PVC pipe into an arc until the ends were 14 feet apart and then used a carpenter’s saw protractor to measure the angle between the rope and the pipe. Very high-tech. Although it wasn’t really necessary, I cobbled up a wooden jig to align the rebars at 60 degrees. It made me feel engineer-like.
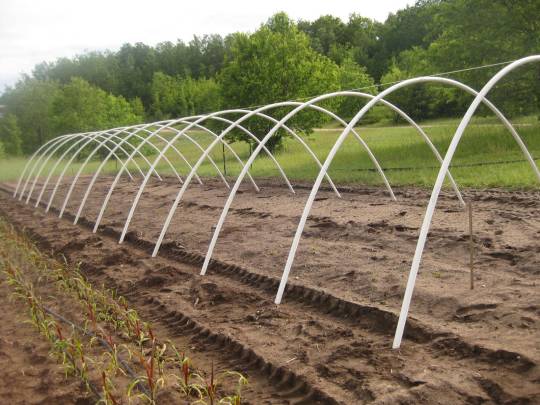
The PVC pipes were 1 1/2 inch diameter and I spaced them 5 feet apart. From what I have read here and there, that should be close enough for good support. So far, so good.
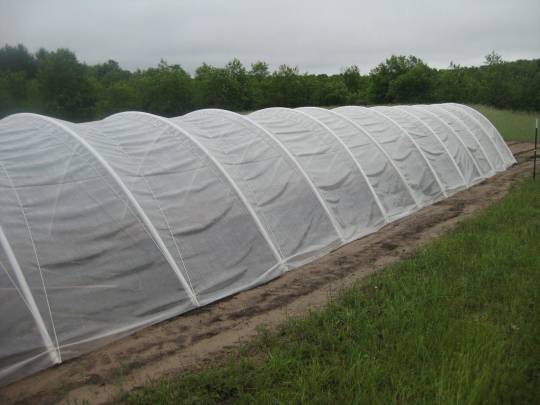
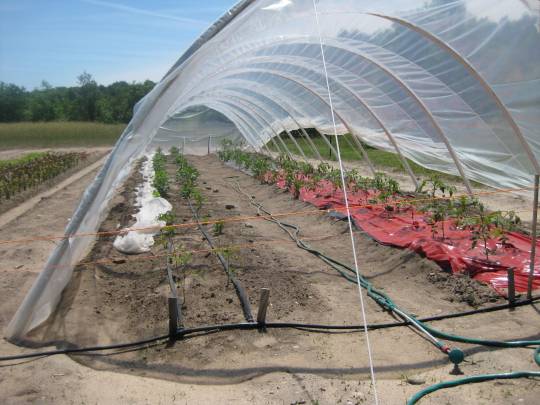
After adding ropes and 6 mil greenhouse film, I had a hoop house.
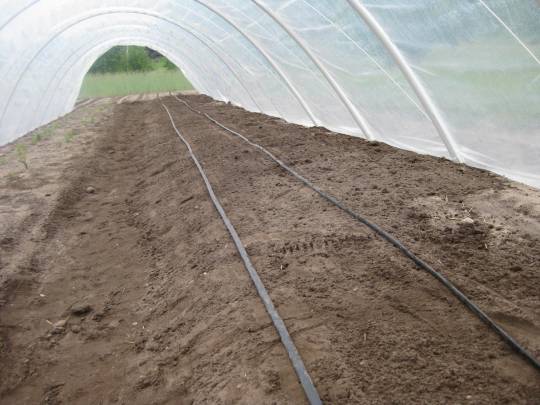
I shoveled a few inches of soil out of the center path to get a little extra headroom, and laid out a couple of driplines.
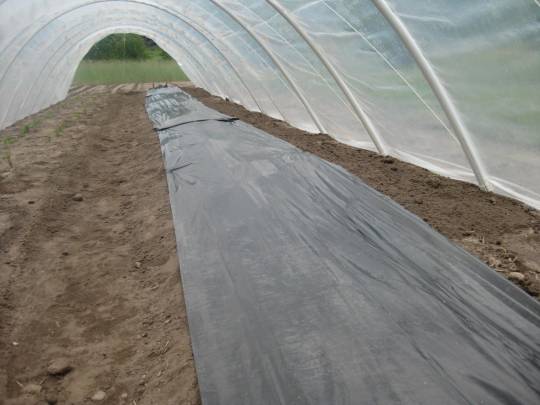
Black plastic over the row,
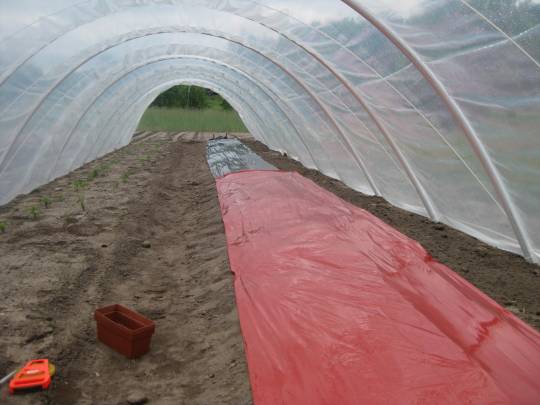
followed by red plastic over half of the row, just as a little experiment, completed the tomato row prep.
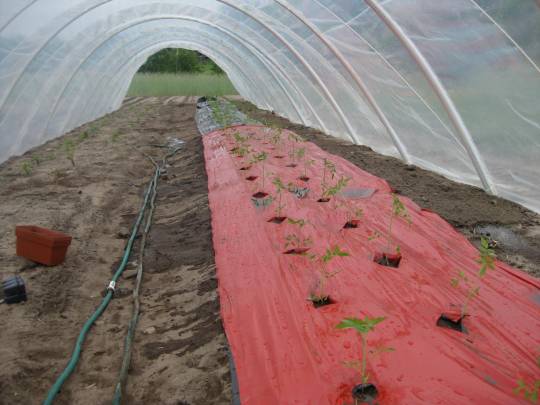
60 tomato plants went in holes with a little bone meal added to each hole.
I closed in the far end, but not the near one yet. You can see the dahlias growing on the left side of the tunnel.
Hoping for good things. The wind blew some of the tomatoes over today, as I had the sides up for ventilation, so I guess it must be time to put in the trellis setup. Sounds like a project for this weekend.

Comments on: "My Homemade Hanley Hoop House" (12)
Hi Tom, Someday I hope to have my site up to where you are.
a couple things, 1. Why does your seeder need a flip switch when you are dropping seeds in one at a time? 2. When you plant through plastic use a bulb planter. It cuts a round hole in the plastic that will not tear and removes the right amount of soil. The only drawback is round pieces of plastic blowing around your field. 3. I’d worry about cooling your hoophouse. One that small will heat quickly. Roll up sides work well, attach a pipe along the bottom of one side of the poly and a T handle at the end. Then a locking mechanism so it does not unroll once it is up. Chris
Hi Chris, thanks for your comments. I have the flipper so that the beak-shaped end can be closed to penetrate the soil, then opened to drop out the seed.
Cooling is a problem alright. This particular design lets you push up the sides which are then held up by the ropes stretched over the plastic. It works pretty well, though the plastic can slip back down over time. Roll-up or roll-down sides would be great, but I’d need to change the design some to make them work. My next house will be different.
Nice job! I’m planning my own; looking for advice for wind management. How has yours held up?
Not too well the first year, but better lately. It blew apart twice the first year, though I was able to put it back together both times. When I decided I was going to leave it up all winter, I changed two things. I changed the spacing of the pipes to four feet instead of five feet, and at every other pipe I drove in an extra rebar at each end. The rebars were tied to the ropes already in place. It stayed put after that.
Sounds good. Wind is extremely strong and I had trouble with my homemade low tunnel this past summer. Wind would blow plastic off or lift whole sections right out of ground and destroy! My place is quite protected by forests surrounding but it doesn’t take a lot to cause problems it seems.
How tall was the interior of yours and how wide would the plastic need to be?
And how many years will you get out of the PVC do you think?
Mine is a littLe over six feet high, which, not coincidentally, is also my height. Since the pipes are 20 feet long, that is the width of the plastic (6 mil polyethylene greenhouse film)I used. I’ve found that the pipes work a bit into the dirt after a while, making 20 feet of plastic work out just right. The greenhouse plastic has UV inhibitors in it and is rated for four years. Mine is still holding up.
You will make it much sturdier by running a PVC pipe along the top the entire length and fasten each hoop to it, then it won’t flex and flop so much when it is windy.
Thanks for the comment, Rattlerjake. I’m sure you’re right about that.
New question 😀
What did you do with the rope between the pvc?
Both ends of each rope are attached to the rebars and the tension in the ropes pulls the plastic down and taut between the PVC pipes. That is supposed to keep the PVC pipes from moving from side to side, and works pretty well.
Do you have photos showing the detail of how ropes attach to the reebar please? Do you weld attachments? Thanks. Daniel
Hi, Daniel. Sorry I don’t have any pictures of the ropes on the rebars. Any kind of knot you can tie will probably work. The rebars have a nice ridged surface so the ropes don’t slip off. I haven’t needed to weld any kind attachment points on them. Thanks for your interest in my humble blog.