Five years ago I built a little greenhouse outside my basement door and thousands of mostly happy little plants have been grown in it since then. The chronicle of the project is here. I had to make it narrow to fit the available space and that has always been a problem, principally because the widest door I could fit into it was 22 inches wide — not good for getting any bulky items in and out of the basement. Also, I had added a sort of bump-out on the side of it to get more room, which it did, but that bumped up the ugly factor a little more than I could stand. I’m no longer growing flowers for the local farmers’ market, so I don’t need as much room as I did.
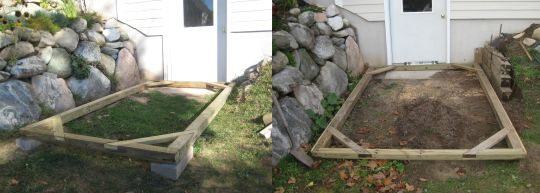
The old structure was 5′ x 10′, and by digging some dirt out on one side, I was able to stretch it out to 6.5′ x 10′, and raise the height to almost 9′ at the peak.
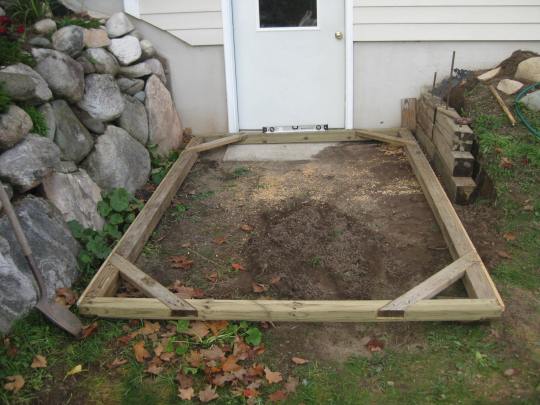
I was able to re-use the base sides and braces and make longer end pieces.
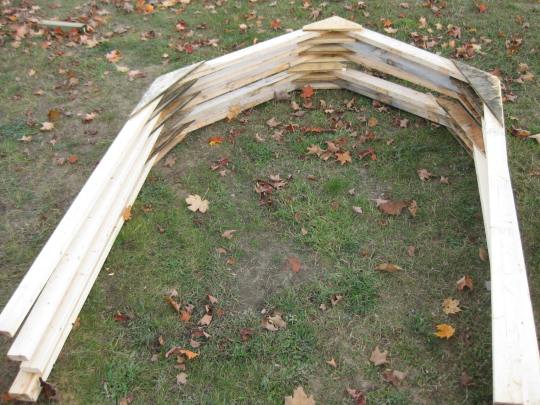
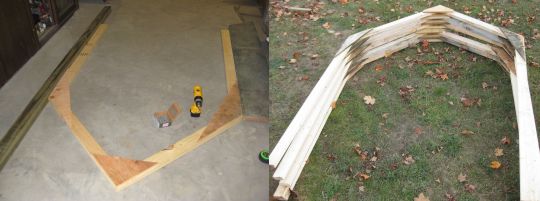
Only five frames this time instead of six. That gives 30″ OC spacing, compared to 24″ before. It turns out that snow load is not a big problem because it’s easy to knock the snow off from the inside. There’s no big buildup. The sides are also taller. I was able to salvage the plywood gussets and the two by fours for the roof from the old greenhouse.

Frames are up with longitudinal and diagonal braces — screwed to the base and to the house.

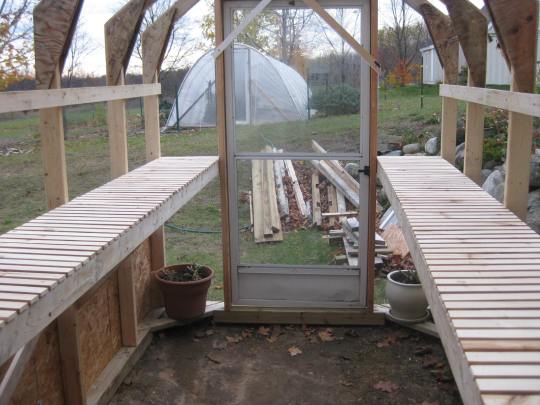
Showing my $20 storm door from the Habitat For Humanity ReStore. It’s 36″ wide (yippee) and is a way better door than the one I made for the original house.
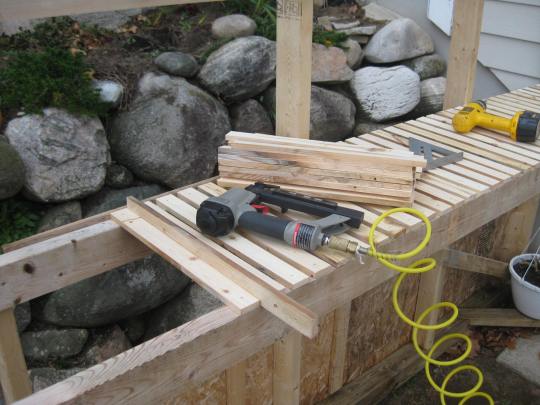
The old greenhouse shelving used something called metal lath, which I thought would be great because water and dirt would just fall right through. That was actually a good idea, but the stuff had sharp edges and I poked holes in the bottoms of too many plastic plant trays. Holes in trays were OK for greenhouse use, but not for in the basement where the seed starting happened. This time I decided to rip salvaged two by fours into slats and staple those down. I think I’ll like it better.
The right-hand shelf has a little warp, the result of using lumber salvaged from the first greenhouse, but what will that hurt? Nuttin’, Honey. I hadn’t noticed it until I looked at this photo.
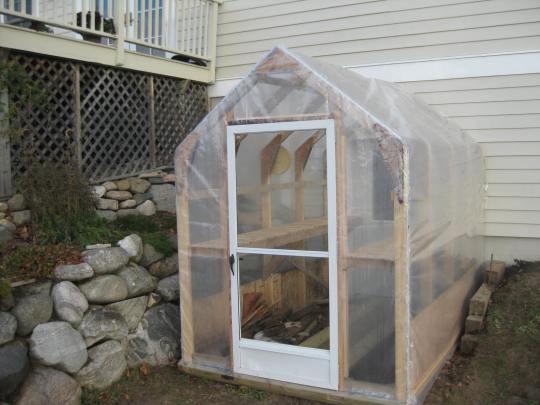
And here it stands. Along with ten two-by-fours, I did have to buy some new plastic, due to the bigger size and the fact that the old plastic was five years old, one year past its stated lifetime.
A couple of details:
– I used aluminum channel and wiggle wire to fasten the plastic to the wall corners and gable ends.

– To seal the greenhouse to the siding of the house, I put duct tape on the siding and used foam to fill the gaps. The duct tape was to keep the foam from sticking to the siding. Someday, I will be moving the greenhouse and I don’t want to have to do a lot of scraping then.

Just for fun, I made some comparison pics, the original greenhouse on the left and the new version on the right.


As I write this in northern Michigan, we are having a rare sunny November day and the greenhouse thermometer is reading 100 °F. I wish I could say that will last.


